Creating import mapping rules for digital images
When creating import mapping rules, there are a few steps that are specific to digital images. These steps help to match the metadata file you upload with image files and also help specify where the image files will be uploaded from.
If you have not viewed it already, please see the page on Getting started with import mapping rules for general information and starting steps for creating import mapping rules.
Step 4: Image Submission
Select from the dropdown menu whether or not you will be uploading images from your local machine or from an outside server.

Step 5: Metadata Information
If you are creating rules for digital images, you must first input information about your metadata. The information that you fill out here will help Metadata Hopper match your images to their corresponding metadata.
Record Separator
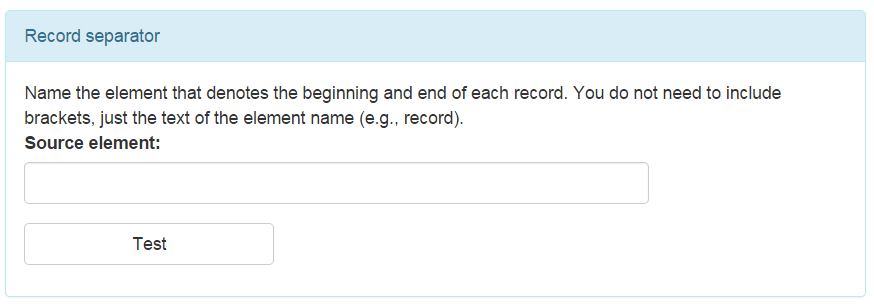
You will only see this box if you are creating rules for digital images that use a single XML file for many images. The purpose of the record separator box is so that Metadata Hopper knows where the metadata for a certain image begins and ends. So for example, if your record looks like this:
<metadata>
    <record>
        <title>
            Title1
        </title>
    </record>
    <record>
        <title>
            Title2
        </title>
    </record>
</metadata>
Type record into the Source element field.
The test button here allows Metadata Hopper to see if the record separator if the element exists in your sample file and will output for you how many records are in your sample file.
Image Filename & Image URL
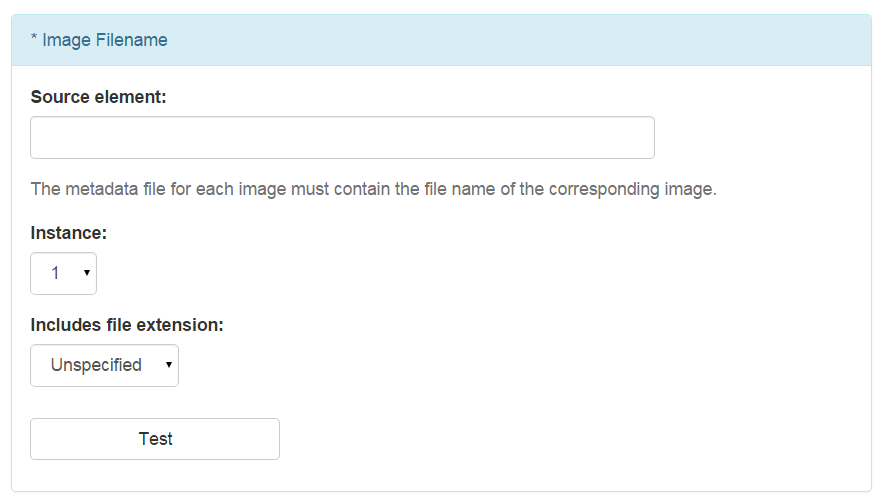
If you choose in the image submission step that you would be uploading image files from your local machine, you will see this input box. The image filename input box tells Metadata Hopper how it is to match the metadata for an object against the image file. You can specify the element for the image file name and a specific instance of that element. The image filename input box will look slightly different depending on whether not you are creating rules for digital images that use a single XML file for many images or digital images that use multiple XML files for multiple images. If you are creating rules for multiple XML files for multiple images, you will have the option to select matching the metadata filename against the image filename. The test button here should output the image filename if you are drawing from your metadata or “Using Filename” if you are using the metadata filename.
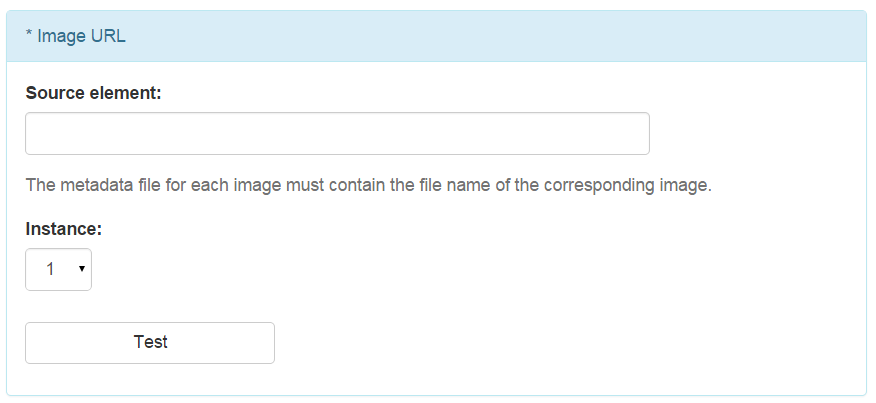
If you choose in the image submission step that you will be pointing to image files that already exist on an outside serve, you will see this input box. This box tells Metadata Hopper how it is to match the metadata files you will be uploading with the image files on the outside server. You can only specify a metadata element and this metadata element must specify in full, the URL for an image file.
Image Suffix
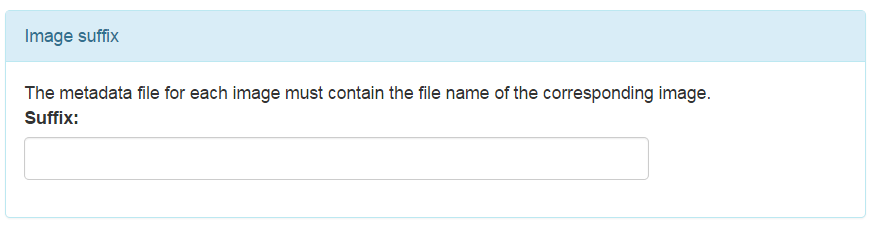
You will only see this third box on the metadata information page if you chose that you will be uploading image files. It requires you to put information about whether or not your images files have a consistent suffix at the end of the filename that is not included in the original metadata. This may occur if you’re using one set of images that exist in multiple forms. For example, you may have both an high resolution archival set, denoted by “-a” at the end of the filename and a medium resolution derivative set of images, denoted by a “-deriv” at the end of the filename. If the derivative files were the ones you were submitting, you would therefore want to place –deriv in the Image suffix box.
Once you have specified all information needed about your metadata file, click next. You will then be taken to page where you will define your import field. Please see the page on Defining import fields for more information on this step.